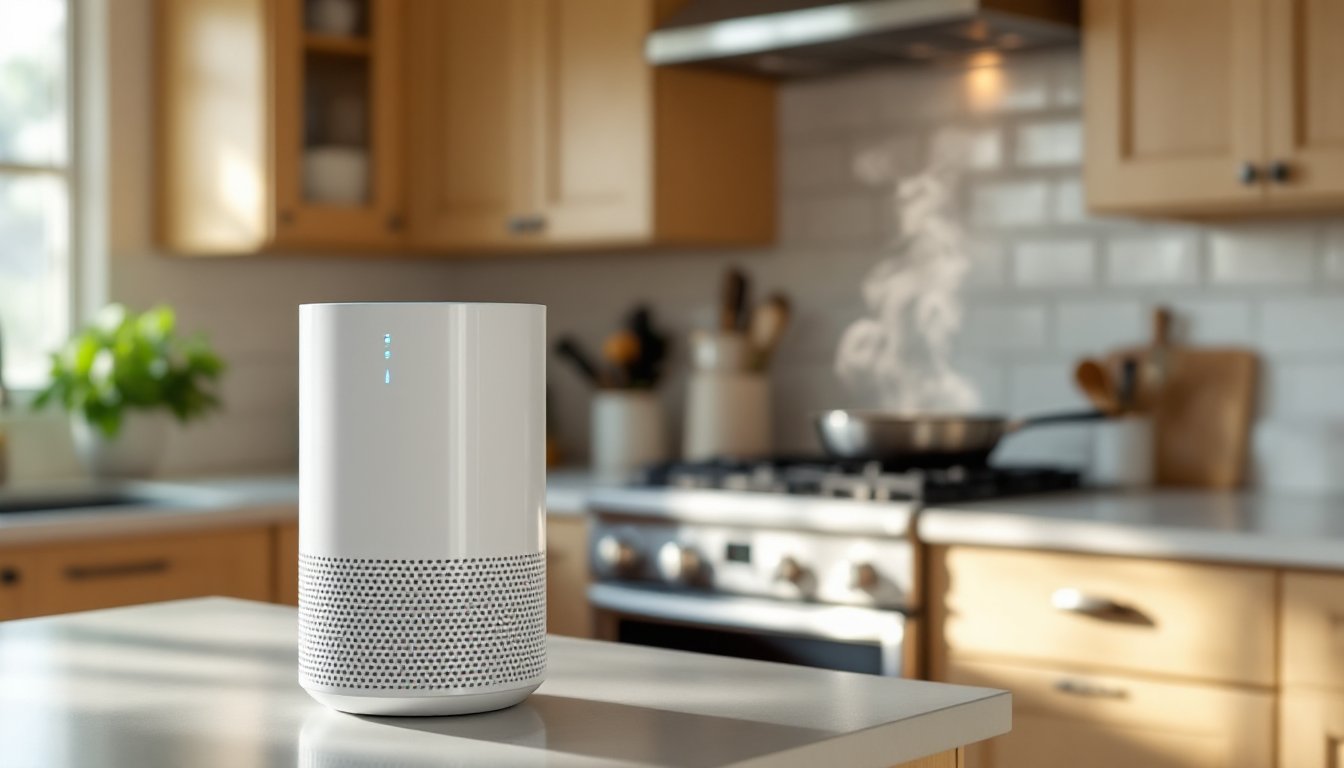
Cooking at home fills your kitchen with more than just delicious aromas. Frying bacon releases grease particles into the air. Searing steak sends smoke billowing toward the ceiling. Even boiling pasta adds moisture that can harbor mold spores. A kitchen air purifier tackles these airborne contaminants that your range hood misses, capturing grease, smoke, odors, and allergens before they spread through your home. While exhaust fans vent air outside, a dedicated air purifier continuously filters and recirculates the air in your cooking space, making it essential for kitchens with inadequate ventilation or for homeowners who cook frequently with high-heat methods.
Table of Contents
ToggleKey Takeaways
- A kitchen air purifier captures grease, smoke, odors, and allergens that range hoods miss, complementing your exhaust system with continuous filtration for healthier indoor air.
- Choose a kitchen air purifier with a smoke CADR rating of 100+ for kitchens under 200 square feet, and select one rated for at least 20-30% larger than your space for optimal performance.
- True HEPA filters that trap 99.97% of particles combined with substantial activated carbon filters are essential; avoid “HEPA-type” labels and budget for replacements every 6-12 months for HEPA and 3-6 months for carbon.
- Position your kitchen air purifier 8-10 feet away from the stove and away from your range hood to avoid airflow competition and prevent grease accumulation on intake vents.
- Regular maintenance including bi-weekly pre-filter cleaning and monthly inspections of HEPA filters keeps your kitchen air purifier performing effectively and prevents motor damage from neglect.
- Auto mode with particulate sensors optimizes energy efficiency by ramping up fan speed only during cooking, extending filter life compared to manual-only units or constant high-speed operation.
Why Your Kitchen Needs an Air Purifier
Range hoods capture rising smoke and steam, but they don’t address particles that escape sideways or settle after you’ve finished cooking. Grease aerosols from frying coat nearby surfaces with a sticky film. Smoke from charring contains particulate matter (PM2.5) that lingers in the air for hours. Gas stoves emit nitrogen dioxide, a respiratory irritant, even when operating correctly.
An air purifier provides continuous filtration that complements your exhaust system. It’s particularly valuable in apartments or condos where ducted range hoods aren’t an option, or in open-concept layouts where cooking odors drift into living areas. Homeowners with asthma or allergies benefit from reduced airborne irritants, while anyone sensitive to lingering food smells appreciates the odor control.
Kitchens with limited ventilation, those with recirculating range hoods or single windows, need mechanical air filtration to prevent grease buildup on cabinets and walls. Without adequate air cleaning, that invisible grease film attracts dust and becomes harder to remove over time. A purifier running during and after cooking sessions prevents this accumulation and keeps your kitchen’s air quality comparable to the rest of your home.
How Kitchen Air Purifiers Work
Most kitchen air purifiers use a multi-stage filtration process. Air enters through an intake vent, passes through a pre-filter that captures large particles like dust and pet hair, then moves to a HEPA filter (High-Efficiency Particulate Air) that traps 99.97% of particles 0.3 microns or larger, including smoke particles, pollen, and mold spores.
After mechanical filtration, the air typically passes through an activated carbon filter that adsorbs odor molecules and volatile organic compounds (VOCs). Cooking releases VOCs from heating oils and burning food particles: carbon filtration neutralizes these before they permeate fabrics and porous surfaces. Some units add an optional ionizer stage that charges particles to make them easier to capture, though this feature can produce trace amounts of ozone and isn’t necessary for effective filtration.
The unit’s fan pulls air through these layers at a measured rate called the Clean Air Delivery Rate (CADR), expressed in cubic feet per minute (CFM). A purifier needs sufficient CADR to cycle the room’s air volume at least four times per hour for effective cleaning. For a 150-square-foot kitchen with 8-foot ceilings (1,200 cubic feet), you’d need a minimum CADR of 80 CFM. Independent testing from CNET frequently evaluates CADR claims for various models.
Unlike whole-house HVAC filtration, portable kitchen units focus their power on a concentrated area where pollutant levels spike during cooking. They recirculate cleaned air back into the room rather than exhausting it outside, which makes them more energy-efficient than constantly running an exhaust fan but means the filters require regular replacement.
Key Features to Look for in a Kitchen Air Purifier
Start with coverage area, manufacturers rate units for specific room sizes. Choose one rated for at least your kitchen’s square footage, and consider going 20-30% larger if you have high ceilings or an open floor plan. Undersized units run constantly on high speed and wear out filters faster.
CADR ratings matter more than fan speed settings. Look for separate CADR numbers for smoke, dust, and pollen: smoke ratings are most relevant for kitchen use since cooking smoke particles fall in that size range. A smoke CADR of 100+ works for most residential kitchens under 200 square feet.
Noise level becomes critical in kitchens that share space with living areas. Units typically range from 25-30 decibels (dB) on low speed up to 55-60 dB on high. A rating above 50 dB interferes with conversation: look for models with a quiet mode that maintains 35-40 dB while still providing adequate airflow. Experts at Good Housekeeping routinely test noise levels as part of their appliance reviews.
Auto mode adjusts fan speed based on detected air quality using built-in particulate sensors. This feature saves energy and extends filter life by ramping up only when needed. Manual-only units require you to remember to increase speed when cooking and reduce it afterward.
Timer functions and scheduling let the unit run for a set period after you finish cooking, typically 30-60 minutes is sufficient to clear residual smoke and odors. Some models offer app connectivity for remote control and filter-life monitoring, though these smart features add cost without improving actual filtration performance.
Filter Types and Replacement Considerations
True HEPA filters are non-negotiable for capturing fine particulates. Avoid “HEPA-type” or “HEPA-like” filters, these marketing terms describe filters that don’t meet the 99.97% efficiency standard. Genuine HEPA filters require replacement every 6-12 months depending on usage: expect to pay $30-$80 per replacement set.
Activated carbon filters vary widely in thickness and carbon weight. Thicker carbon beds (½-inch or more) remove odors more effectively than thin carbon-impregnated sheets. Some manufacturers use carbon pellets rather than granules for better airflow and longer life. Replace carbon filters every 3-6 months in kitchens with daily cooking: odors breaking through indicate the carbon is saturated.
Washable pre-filters save money and reduce waste. Remove and vacuum or rinse these monthly to prevent clogging that reduces overall airflow. Non-washable pre-filters need replacement every 2-3 months.
Permanent or washable HEPA filters exist but generally perform below replaceable HEPA standards. The cost savings over time don’t justify the reduced filtration efficiency for kitchen applications where grease can clog permanent filters beyond cleaning capability. Factor ongoing filter costs into your purchase decision, a cheaper unit with expensive proprietary filters often costs more over three years than a pricier model with affordable generic filter options.
Best Placement Tips for Maximum Effectiveness
Position the purifier where it intercepts airflow patterns without blocking traffic. In small galley kitchens, place it on a counter away from the stove, 8-10 feet of distance prevents grease from coating the intake vents too quickly. Tower-style units work well in corners where they draw air from multiple directions.
Avoid placing purifiers directly beside the range hood. The hood’s exhaust creates negative pressure that competes with the purifier’s intake, reducing effectiveness of both. If your range hood vents outside, run it during cooking and position the purifier farther away to clean air that escapes the hood’s capture zone.
For open-concept kitchens connected to dining or living areas, place the unit at the boundary between spaces to prevent smoke and odors from drifting into adjacent rooms. The purifier acts as an air curtain, filtering particles before they spread. Recommendations from The Kitchn often emphasize strategic placement for small-space kitchens.
Ensure at least 12-18 inches of clearance on all intake and exhaust sides, units pressed against walls or surrounded by clutter can’t draw air efficiently. Check your model’s manual for specific clearance requirements: some tower units need only rear clearance while others require space on all sides.
Elevating the unit on a shelf or mounting it (if designed for wall installation) improves air circulation in kitchens with floor-level cabinets that create dead zones for airflow. Smoke rises, so mid-height placement (3-4 feet off the floor) captures particles more effectively than floor-level positioning.
Never place purifiers near water sources or directly under cabinets where grease drips. Electrical safety matters, use GFCI-protected outlets in kitchen environments. If your kitchen lacks adequate outlets, have a licensed electrician install one rather than running extension cords across work areas.
Maintenance and Care Guide
Check and clean the pre-filter every two weeks in active kitchens. Remove it according to manufacturer instructions and vacuum both sides, or rinse washable filters under lukewarm water. Let washed filters dry completely, 24 hours minimum, before reinstalling to prevent mold growth. Damp filters restrict airflow and can damage the motor.
Monitor filter replacement indicators if your model includes them, but don’t rely on them exclusively. Timer-based indicators track running hours, not actual filter condition. Inspect HEPA filters monthly: visible grease coating or dark discoloration signals replacement regardless of the indicator status.
Wipe down the unit’s exterior weekly to prevent grease buildup on the housing. Use a damp microfiber cloth with mild dish soap, avoid harsh cleaners that can damage plastic components. Grease on intake vents restricts airflow: clean these monthly with degreasing spray and a soft brush.
Filter replacement schedule for heavy use (cooking 5+ times per week):
• Pre-filter: Clean every 2 weeks, replace if non-washable every 2 months
• HEPA filter: Replace every 6-8 months
• Carbon filter: Replace every 3-4 months
Light users (cooking 2-3 times weekly) can extend these intervals by 50%, but err on the side of early replacement if you notice reduced performance or odor breakthrough.
Store replacement filters in sealed bags away from moisture and strong odors. Opening filter packaging exposes carbon to air, starting the degradation process even before installation. Buy filters as needed rather than stockpiling more than 6 months of supplies.
Deep clean the unit quarterly by removing all accessible components and wiping internal surfaces. Unplug the unit first. Use compressed air to blow dust from fan blades and sensors, working outdoors if possible since this releases accumulated particles. Persistent grease on internal components indicates the unit is positioned too close to cooking surfaces: relocate it farther from the stove.
If the unit develops unusual noises, grinding, rattling, or high-pitched whines, power it off immediately. Check for loose panels or objects caught in the fan. Continued operation with mechanical issues can burn out the motor. Most manufacturers cover motor defects for 1-2 years, but physical damage from improper maintenance voids warranties.
Conclusion
A kitchen air purifier won’t replace proper ventilation, but it provides the continuous filtration needed to handle particles your exhaust system misses. Choose one with adequate CADR for your space, prioritize true HEPA and substantial carbon filtration, and position it strategically away from direct cooking areas. Regular filter replacement and pre-filter cleaning maintain performance, skipping maintenance turns the unit into an expensive fan that recirculates dirty air instead of cleaning it.