Kenmore side by side refrigerators have been a staple in American kitchens for decades, offering a practical layout that puts fresh and frozen food at eye level. Whether you’re replacing an aging unit or upgrading from a top-freezer model, understanding what sets these appliances apart, and how to keep them running smoothly, can save you hundreds in repair bills and wasted food. This guide walks through current Kenmore models, essential features, installation considerations, and the most common DIY fixes homeowners can handle without calling a technician.
Table of Contents
ToggleKey Takeaways
- Kenmore side by side refrigerators offer a practical layout with roughly 40% freezer and 60% refrigerator capacity, keeping frequently used items at eye level while eliminating deep-reach problems.
- Current Kenmore models meet Energy Star standards and consume 450–600 kWh annually, costing approximately $60–80 per year to operate compared to 700+ kWh for units built before 2010.
- The 2026 Kenmore lineup includes the 51833 (25 cu. ft. mid-range), 51823 (22 cu. ft. compact), and Elite 51849 (28 cu. ft. premium with WiFi connectivity and inverter compressor technology).
- Installation requires a dedicated 115V/20A circuit, proper leveling with adjustable front legs, and at least 1 inch of side clearance for optimal airflow and maintenance access.
- Regular maintenance including bi-annual condenser coil vacuuming, door gasket inspection, and six-month water filter replacement prevents costly repairs and extends appliance life to 12–15 years.
What Makes Kenmore Side by Side Refrigerators Stand Out?
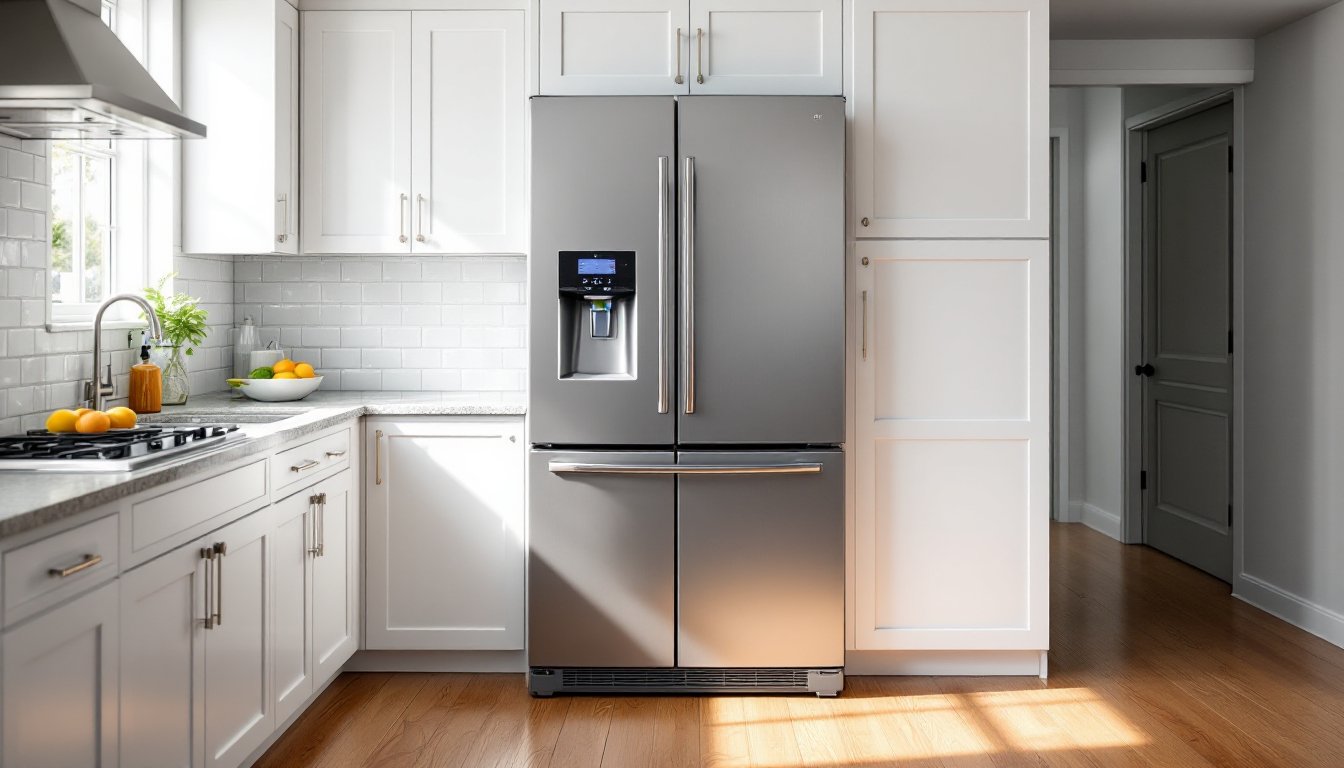
Kenmore side by side refrigerators balance accessibility with capacity. The vertical split design dedicates roughly 40% of width to the freezer and 60% to the refrigerator, though exact ratios vary by model. This configuration eliminates the deep-reach problem of top-freezer units and keeps frequently used items between waist and shoulder height.
Build quality varies across Kenmore’s lineup, but many models feature galvanized steel backing and adjustable tempered glass shelves rated to hold 50+ pounds. The brand has shifted manufacturing partners over the years, current units are produced under license by Electrolux and other OEMs, but warranty coverage remains consistent at one year full parts and labor, with sealed system components (compressor, condenser, evaporator) covered for five to ten years depending on the model.
Energy efficiency has improved significantly since older Kenmore units. Most current side by side models meet or exceed Energy Star certification, drawing 450–600 kWh annually compared to 700+ kWh for models built before 2010. That translates to roughly $60–80 in annual operating costs at the national average electricity rate of $0.13/kWh, though your mileage will vary by local utility pricing and usage patterns.
Top Kenmore Side by Side Refrigerator Models in 2026
Kenmore’s 2026 lineup includes several models worth considering, each targeting different capacity and feature needs.
Kenmore 51833 (25 cu. ft.) sits in the mid-range sweet spot. It includes LED lighting on both sides, adjustable door bins, and a through-the-door ice and water dispenser. The external digital temperature controls let you adjust zones without opening the doors, helpful during summer months when ambient kitchen temps spike. Interior width accommodates standard 13×9-inch baking dishes on the refrigerator side without removing shelves.
Kenmore 51823 (22 cu. ft.) trades some capacity for a smaller footprint, fitting kitchens with 33-inch cabinet openings. It skips the external dispenser to save depth (32 inches vs. 35 inches), making it a better fit for galley kitchens or tight spaces. The ice maker mounts inside the freezer compartment, sacrificing about 1.5 cu. ft. of usable freezer space.
Kenmore Elite 51849 (28 cu. ft.) represents the premium tier. It adds WiFi connectivity for temperature monitoring via smartphone app, a dual ice maker system (one in-door, one interior), and a stainless steel interior back wall for easier cleaning. The compressor runs on inverter technology, which cycles more efficiently than traditional on/off compressors and reduces temperature swings by 1–2°F.
For those exploring advanced features across brands, reviews of smart refrigerators highlight connectivity options that sync with home automation systems.
Key Features to Look for When Choosing Your Kenmore Model
Capacity and dimensions matter more than marketing suggests. Measure your existing space including door swing clearance, you need at least 90 degrees of clearance for crisper drawers to slide out fully. Note that a 25 cu. ft. rated capacity includes internal components: actual usable space runs closer to 22 cu. ft.
Ice and water dispensers add convenience but create potential leak points and reduce freezer capacity. External dispensers require a 1/4-inch water supply line run to the fridge, typically tapped from the nearest cold water pipe under the sink. If your kitchen lacks an existing hookup, budget $150–300 for a plumber to install a saddle valve or compression tee (though some jurisdictions now prohibit saddle valves due to leak risk, check local plumbing codes).
Shelving flexibility varies widely. Look for adjustable cantilever shelves that slide forward or back to accommodate tall items like pizza boxes or cake carriers. Tempered glass shelves contain spills better than wire racks but can crack if you drop frozen items on them from height.
Temperature management features separate adequate models from excellent ones. Dual evaporator systems maintain independent cooling for fridge and freezer compartments, preventing freezer odors from migrating into fresh food and allowing more precise humidity control in crisper drawers. Single evaporator units (more common in budget models) share airflow between compartments, which can dry out produce faster.
Finish options typically include stainless steel, black stainless, white, and sometimes slate. Genuine stainless shows fingerprints but cleans with standard stainless cleaner. Fingerprint-resistant finishes use a microtexture coating that hides smudges but can wear through after years of scrubbing, avoid abrasive cleaners on these surfaces.
Installation Tips for Your Kenmore Side by Side Refrigerator
Most side by side refrigerators weigh 250–350 pounds empty, so line up a helper before delivery day. You’ll also need an appliance dolly rated for at least 400 pounds and furniture sliders if you’re moving across tile or hardwood.
Before the new unit arrives, pull the old fridge and check the dedicated 115V/20A circuit. Side by side models draw 5–8 amps during normal operation but can spike to 15+ amps on compressor startup. If your kitchen shares a circuit with other appliances, consider having an electrician run a dedicated line, this isn’t required by code but prevents nuisance breaker trips.
Measure the delivery path from your door to the final location. Doorway width needs to be at least 2 inches wider than the fridge at its widest point (usually the door handles). Remove refrigerator doors if clearance is tight, most Kenmore models have 5/16-inch hex head bolts securing the top hinge. Disconnect the water supply line first if present, and tape the electrical cord to the back panel so it doesn’t snag.
Once in position, level the unit using the adjustable front legs. Place a 24-inch level across the top front edge and adjust until the bubble centers. Proper leveling ensures doors self-close from a 45-degree position and prevents compressor oil from pooling incorrectly. Aim for a slight backward tilt (1/8 inch over 24 inches) so doors naturally swing closed.
Leave 1 inch of clearance on sides and top for airflow. The condenser coils on most Kenmore side by sides mount underneath and exhaust forward through the toe kick grille, so rear clearance can be as tight as 1/2 inch, but more space makes maintenance easier. Wait four hours after moving before plugging in, allowing compressor oil to settle if the unit was tilted during transport.
Essential Maintenance and Troubleshooting for Kenmore Refrigerators
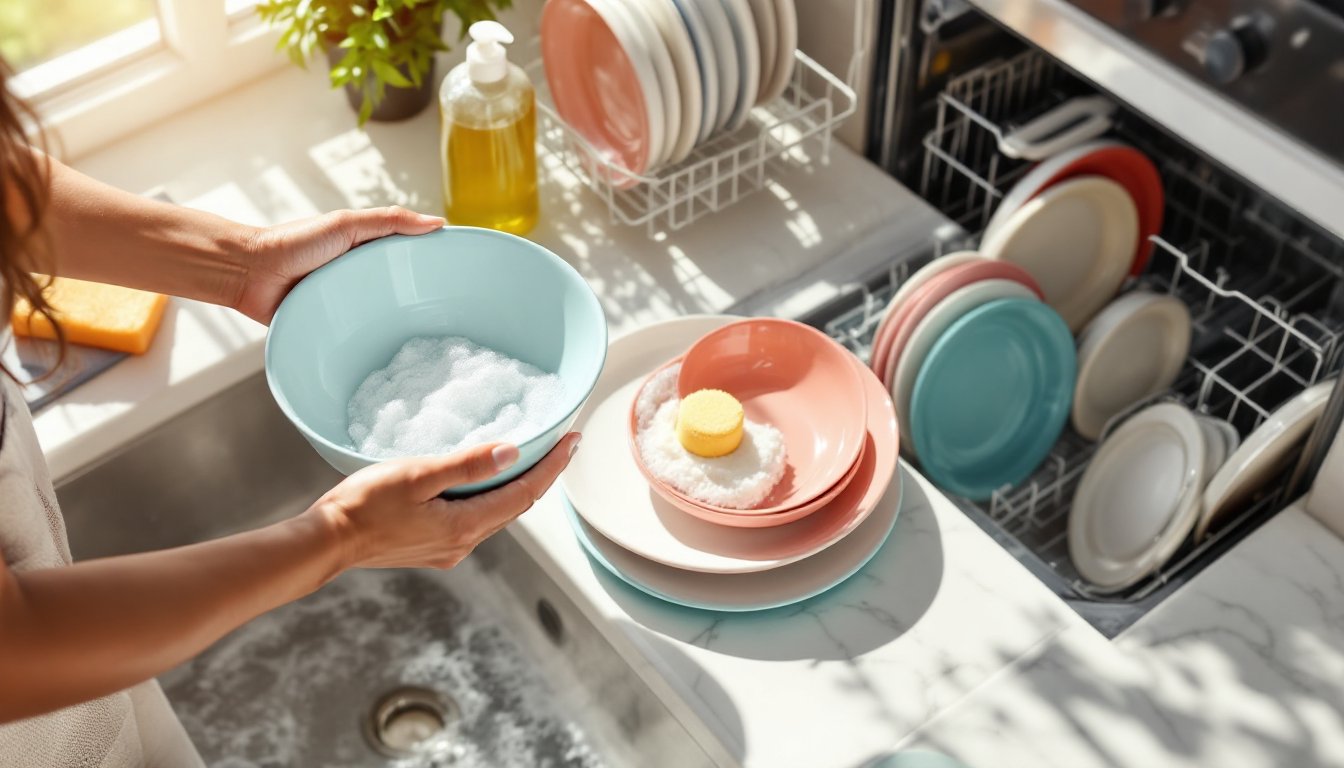
Regular maintenance extends appliance life and prevents expensive repairs. Every six months, vacuum the condenser coils. On most Kenmore side by sides, these sit behind the front toe kick grille. Pop off the grille (it usually unclips), then use a coil brush (available for $8–12 at hardware stores) followed by a vacuum with a crevice attachment. Dust buildup reduces cooling efficiency by up to 25% and forces the compressor to run longer cycles.
Twice yearly, check and clean the door gaskets. Wipe them with warm water and mild dish soap, then dry thoroughly. Inspect for cracks or gaps, a dollar bill should resist when you close the door on it at multiple points around the seal. Replace torn gaskets promptly: they cost $50–100 per door but can save $10–15 monthly in wasted energy from air leaks.
Monthly, clean the interior drain pan if your model has an accessible one (usually behind the front grille). Wipe away slime buildup with a bleach solution (1 tablespoon per quart of water). This prevents mold odors and keeps the automatic defrost drain clear.
Water filter replacement depends on usage but typically follows a six-month schedule. Kenmore filter part numbers vary by model, check your owner’s manual or the label inside the fridge. Aftermarket filters cost $20–40 and work fine if they’re NSF/ANSI 42 and 53 certified for chlorine, lead, and cyst reduction. For guidance on appliance care routines, today’s homeowner offers seasonal maintenance checklists.
Common Problems and DIY Fixes
Water dispenser not working: First check the control lock (often a 3-second hold on a button marked with a lock icon). If unlocked and still not dispensing, inspect the water supply valve behind the fridge, it should be fully open. Remove the water line at the fridge connection and place it in a bucket: if water flows when the valve opens, the problem is internal and likely a frozen fill tube or clogged inlet valve.
Ice maker not producing ice: Verify the wire shutoff arm isn’t in the raised (off) position. Check that the freezer temperature sits between 0–5°F, warmer temps prevent proper ice formation. Remove the ice bin and look for frost buildup around the ice maker assembly: this usually indicates a defrost system fault or door seal leak letting humid air in.
Fridge too warm, freezer too cold (or vice versa): This points to a stuck or broken damper control that regulates airflow between compartments. It’s located in the rear wall of the fridge section, usually behind a plastic cover near the top. Listen for the damper motor operating when you adjust the temperature control: if silent, the damper assembly needs replacement (a $30–60 part requiring basic screwdriver work).
Frost buildup in freezer: Excessive frost means the automatic defrost cycle isn’t completing. Check the defrost timer (a round dial mounted near the compressor under the fridge) by turning it clockwise with a flathead screwdriver until you hear a click. The compressor should shut off and the defrost heater should activate within 30 minutes. If the heater doesn’t warm up, the defrost heater element or defrost thermostat has failed. Replacing these requires removing frozen food and interior panels, doable for a confident DIYer with hex drivers and a multimeter, but consider a tech if you’re uncomfortable working around 120V components.
Excessive noise: Side by sides make various sounds, humming from the compressor, clicking from the defrost timer, gurgling from refrigerant flow. But loud rattling often comes from the evaporator fan hitting built-up frost, or the condenser fan (if rear-mounted) hitting debris. Unplug the unit, remove the appropriate access panel (freezer or rear), and inspect both fans for obstructions. Fan motors cost $40–80 and swap out with 1/4-inch nut drivers in about 20 minutes.
Wear safety glasses and unplug the refrigerator before any interior repairs. For layout inspiration and appliance integration ideas, the kitchn covers kitchen functionality alongside aesthetics.
When to call a pro: Refrigerant leaks (oily residue around coils, hissing sounds), compressor failure (unit won’t cool at all and compressor is hot to touch), and sealed system work all require an EPA-certified technician. Don’t attempt to recharge refrigerant yourself, it’s illegal without certification and dangerous without proper equipment.
Conclusion
Kenmore side by side refrigerators deliver practical storage and proven reliability when matched to the right kitchen and maintained properly. Focus on the features that matter for your household, capacity, dispenser options, and energy efficiency, then commit to the simple quarterly maintenance that prevents most common failures. With proper care, a quality side by side should deliver 12–15 years of service before major component replacement becomes necessary.