Wall sconces do more than light a space, they free up floor and table area, add architectural interest, and layer lighting in ways overhead fixtures can’t match. Whether flanking a bathroom mirror, highlighting artwork, or brightening a dim hallway, sconces bring function and form to nearly any room. But choosing the right style, wiring it safely, and mounting it at the correct height takes more than picking something that looks good online. This guide walks through fixture types, placement rules, installation steps, and design strategies to help homeowners tackle sconce projects with confidence.
Table of Contents
ToggleKey Takeaways
- Indoor wall sconces save floor and table space while layering lighting and adding architectural interest to any room.
- Mount sconces at eye level (60–66 inches above finished floor for most rooms) and space pairs 6–8 feet apart in hallways to avoid glare and ensure effective coverage.
- Choose between plug-in sconces for flexibility (ideal for renters) or hardwired sconces for permanent installations, ensuring fixtures are properly grounded and follow local electrical codes.
- Select shade materials and finishes based on room function—frosted glass for bathrooms to reduce glare, oil-rubbed bronze for moisture-prone areas, and dimmable fixtures for flexible ambient or task lighting.
- Always shut off power at the breaker and confirm circuits are dead with a voltage tester before installing hardwired wall sconces to prevent electrical hazards.
- Pair sconces symmetrically beside mirrors, beds, or fireplaces and layer them with overhead and accent lighting for a three-tier lighting plan that adds depth and reduces shadows.
What Are Indoor Wall Sconces and Why Choose Them?
A wall sconce is a lighting fixture mounted directly to an interior wall, typically wired into the home’s electrical system. Unlike table lamps or floor lamps, sconces are hardwired and permanently installed, making them a semi-permanent part of the room’s design.
Homeowners choose sconces for several practical reasons:
- Space efficiency: No footprint on tables or floors, which matters in narrow hallways, small bathrooms, or compact living rooms.
- Layered lighting: Sconces add ambient or task lighting at eye level, complementing overhead fixtures and reducing harsh shadows.
- Architectural interest: They create vertical design lines, frame mirrors or doorways, and highlight wall textures.
- Flexible placement: Install them where lamps can’t go, beside beds without nightstands, in stairwells, or above kitchen counters.
Most sconces use standard A19 or candelabra (E12) bulb bases and accept LED, incandescent, or CFL bulbs depending on the socket rating. Check fixture specs for maximum wattage to avoid overheating.
Types of Indoor Wall Sconces for Every Room
Sconces come in several functional categories. Matching the type to the room’s purpose keeps the lighting effective and the installation straightforward.
Plug-in sconces: Feature a cord and standard plug, requiring no hardwiring. Best for renters or spaces without existing junction boxes. Mount with drywall anchors rated for the fixture weight (typically 5–10 lbs).
Hardwired sconces: Connect directly to household wiring via a junction box. Most permanent installations fall into this category. Require electrical work and sometimes a permit (check local codes).
Swing-arm sconces: Include an articulating arm for adjustable light direction. Popular beside beds for reading or in home offices. Mounting hardware must support the extended weight when the arm is fully open.
Uplights and downlights: Uplights direct light toward the ceiling for ambient glow: downlights cast focused pools below. Hallways and staircases often use downlights for safety and visibility.
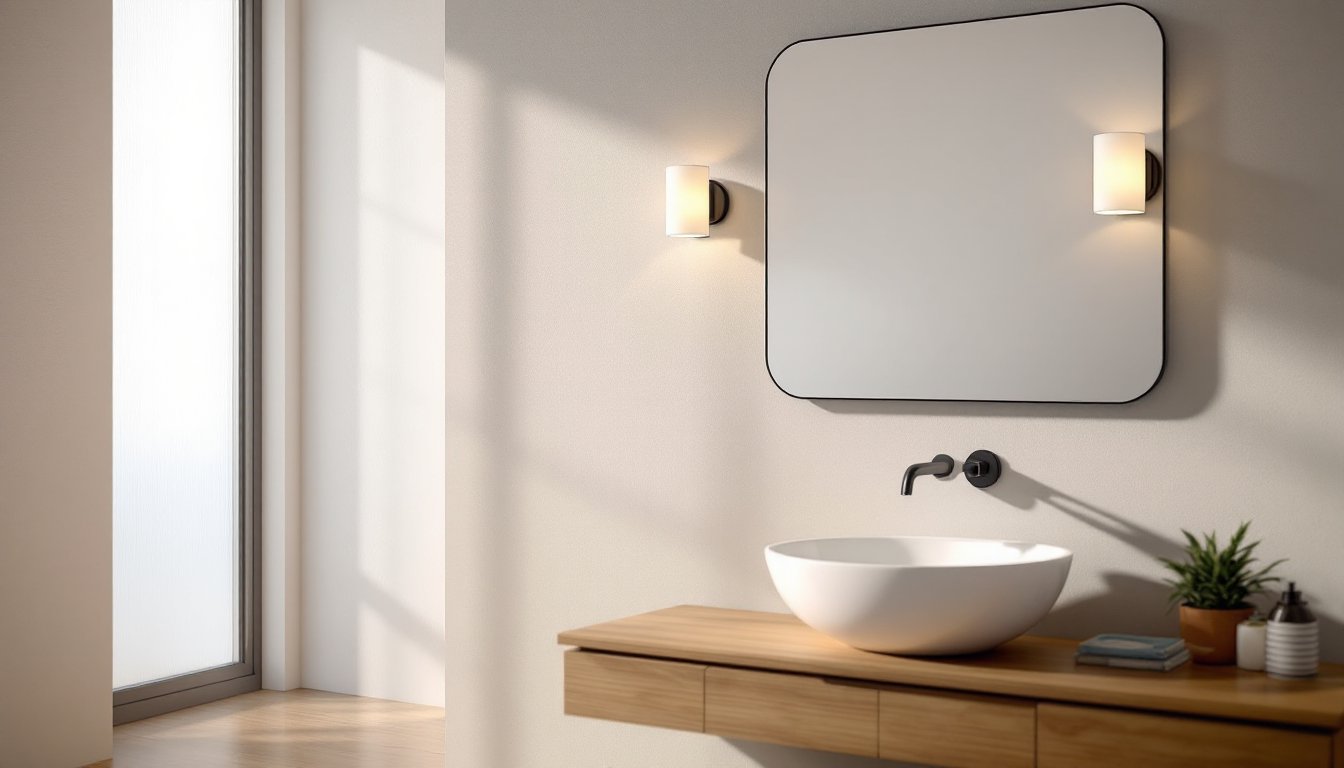
Vanity sconces: Designed for bathroom mirrors, often sold in pairs. Look for fixtures rated for damp or wet locations (UL listing required) and frosted or opal glass to reduce glare.
Picture lights: Low-profile sconces that mount above artwork or shelving. Usually hardwired but some battery-powered models exist for temporary setups.
When considering sconce styles for modern interiors, browsing curated contemporary design collections can help narrow down finish and form preferences.
How to Choose the Right Wall Sconce for Your Space
Selecting a sconce involves more than aesthetics. Room size, ceiling height, existing wiring, and intended use all factor into the decision.
Scale and proportion: Measure the wall area where the sconce will hang. In a hallway 4 feet wide, a fixture 8–12 inches tall keeps proportions balanced. Oversized sconces work in rooms with 10-foot ceilings: compact models suit 8-foot spaces.
Light output: Check the fixture’s lumen rating or maximum bulb wattage. For ambient lighting in a living room, aim for 200–400 lumens per sconce. Task lighting (reading, grooming) needs 400–800 lumens. Dimmable fixtures add flexibility.
Shade material: Metal or opaque shades direct light up or down. Frosted glass or fabric diffuses light for a softer glow. Clear glass offers decorative bulb visibility but can cause glare.
Finish durability: Bathrooms and kitchens see moisture and grease. Oil-rubbed bronze, brushed nickel, and powder-coated finishes hold up better than lacquered or painted surfaces.
Backplate size: The backplate must cover the junction box and any old screw holes or paint marks. Standard round boxes are 4 inches in diameter: decorative backplates range from 4.5 to 6 inches.
Wiring compatibility: Most sconces connect to standard 120V household circuits via black (hot), white (neutral), and green or bare (ground) wires. Some LED sconces require low-voltage transformers, verify compatibility before purchasing.
Placement and Height Guidelines for Wall Sconces
Improper sconce height creates glare, awkward shadows, or ineffective lighting. Here are room-by-room rules of thumb.
Living rooms and hallways: Mount sconces 60–66 inches above the finished floor (AFF), measured to the fixture’s center. This puts the light source roughly at eye level for a standing adult. Space pairs 6–8 feet apart along a hallway for even coverage.
Bathrooms (vanity sconces): Install 60–65 inches AFF, flanking the mirror 28–36 inches apart (center to center). This cross-lights the face and minimizes shadows under the chin and eyes. If using a single sconce above the mirror, center it and mount 75–80 inches AFF.
Bedrooms (beside-bed sconces): Position swing-arm or directional sconces 30–36 inches above the mattress top, roughly shoulder height when sitting up. If nightstands are present, align the sconce bottom with the top of the nightstand for visual balance.
Stairways: Code varies, but the International Residential Code (IRC) requires stairway lighting that illuminates each tread. Mount sconces 72 inches AFF minimum to avoid head strikes. Space fixtures so no tread is more than 6 feet from a light source.
Above artwork: Center the sconce 4–6 inches above the frame’s top edge. For larger pieces, use two sconces spaced evenly.
Always locate studs or blocking before mounting. Drywall anchors work for lightweight plug-in sconces (under 5 lbs), but hardwired fixtures benefit from screws driven into solid framing.
Step-by-Step: Installing Indoor Wall Sconces
Hardwired sconce installation involves electrical work. If the circuit is live or the project requires running new wire through walls, hire a licensed electrician or pull a permit as required by local code. This guide assumes an existing junction box is already in place.
Tools and materials:
- Voltage tester (non-contact)
- Wire stripper
- Screwdriver (Phillips and flat-head)
- Wire nuts (typically 14–16 AWG)
- Electrical tape
- Stud finder
- Pencil
- Level
- Safety glasses
Step 1: Shut off power at the breaker. Use a voltage tester on the wires in the junction box to confirm the circuit is dead. Don’t skip this, live wires can cause shock or fire.
Step 2: Remove the old fixture (if present) by unscrewing the mounting plate and disconnecting wire nuts. Cap any exposed wire ends temporarily.
Step 3: Attach the sconce’s mounting bracket to the junction box using the screws provided (usually 8-32 machine screws). Ensure the bracket is level, this determines the fixture’s final orientation.
Step 4: Strip 1/2 inch of insulation from the fixture’s wires if not pre-stripped. Match colors: black (hot) to black, white (neutral) to white, green or bare (ground) to the box’s ground wire or green screw.
Step 5: Twist wire ends together clockwise, then thread a wire nut over the connection and twist clockwise until snug. Tug gently, if a wire pulls free, the connection is insufficient. Wrap the base of each nut with electrical tape for extra security.
Step 6: Tuck wires neatly into the junction box. Align the sconce backplate over the mounting bracket and secure with the provided screws or decorative nuts.
Step 7: Install the bulb(s) per the manufacturer’s specs (respect maximum wattage), attach any glass shades or covers, and restore power at the breaker. Test the switch.
Permit and code notes: The National Electrical Code (NEC) requires junction boxes to be accessible and fixtures to be grounded. Adding a new circuit or junction box typically requires a permit. Always consult local building codes.
Styling Tips and Design Ideas for Wall Sconces
Sconces do double duty as functional light sources and decorative elements. Strategic placement and thoughtful styling amplify both.
Create symmetry: Flanking a mirror, fireplace, or bed with matching sconces establishes visual balance and a finished look. Measure carefully so each fixture sits equidistant from the centerline.
Mix finishes intentionally: Matte black sconces pair well with brass or copper accents elsewhere in the room. Stick to two or three metal finishes max to avoid a chaotic feel.
Layer with other lighting: Sconces work best as part of a three-tier lighting plan, ambient (overhead), task (sconces or lamps), and accent (picture lights or under-cabinet strips). This layering reduces glare and adds depth.
Highlight architecture: Install sconces in alcoves, beside built-in shelving, or along exposed brick walls to emphasize texture and dimension. Uplights graze textured surfaces and make ceilings appear higher.
Use dimmers: A dimmer switch (compatible with LED bulbs if applicable) lets sconces shift from task lighting during the day to ambient mood lighting in the evening. Install a standard single-pole dimmer rated for the total wattage of both fixtures if wiring two sconces on one switch.
Coordinate with decor: In traditional spaces, choose sconces with fabric shades or candelabra bulbs. Modern rooms benefit from geometric shapes and exposed Edison bulbs. Exploring living room lighting layouts offers practical examples of sconce integration in various design styles.
Consider bulb color temperature: Warm white (2700–3000K) suits bedrooms and living areas. Bright white (3500–4100K) works in bathrooms and task-focused spaces. Keep color temperature consistent across fixtures in the same room.
For broader inspiration on integrating architectural lighting into home interiors, browsing curated interior design trends can spark ideas for fixture placement and style pairings.
Conclusion
Wall sconces bring flexibility, style, and practical lighting to nearly every room, once installed correctly. Measure twice, respect electrical safety, and match fixture type to function. Whether hardwiring vanity sconces beside a bathroom mirror or adding swing-arm reading lights in a bedroom, the right sconce elevates both form and function without eating up floor space.