A Shark vacuum losing suction mid-clean is frustrating, but it rarely means the machine is dead. Most suction loss comes from clogs, dirty filters, or blockages in places you might not think to check. The good news? Nearly all of these problems can be fixed in under 30 minutes without any special tools. This guide walks through the most common causes of poor suction and gives step-by-step instructions to get the vacuum pulling hard again. Before calling for service or buying a replacement, work through these checkpoints in order.
Table of Contents
ToggleKey Takeaways
- Most Shark vacuum suction loss issues stem from clogged dust cups, dirty filters, or blockages—problems you can fix in under 30 minutes without special tools.
- Clean your filters thoroughly every month and allow them to air-dry for at least 24 hours before reassembling, as running the vacuum with wet filters damages the motor.
- Inspect the brush roll and floor nozzle for tangled hair and debris, as a jammed brush roll restricts airflow and can overheat the motor.
- Check all hose connections and seals for air leaks by running your hand along seams while the vacuum is running—even small gaps can reduce suction by 30% or more.
- If your Shark vacuum still loses suction after emptying the dust cup, cleaning filters, clearing blockages, and inspecting seals, the motor may need professional service or replacement.
Common Reasons Your Shark Vacuum Lost Suction
Shark vacuums rely on consistent airflow from the floor nozzle through the dust cup and out the exhaust. Any disruption in that path reduces suction power. Here’s where problems typically show up:
Clogged dust cup or filters. When the cup fills beyond the “max fill” line or filters get coated in fine dust, airflow chokes. Shark models use foam and HEPA filters that need regular cleaning.
Blockages in the hose or wand. Hair, pet fur, and small debris can form plugs in bends or narrow sections. Sometimes a toy or sock gets stuck near the connection points.
Brush roll jams. String, hair, and carpet fibers wrap around the roller and bearings, preventing it from spinning. A stalled brush roll reduces surface agitation and restricts airflow at the floor head.
Air leaks at seals or gaskets. If a door doesn’t latch fully, a gasket is cracked, or a connection isn’t seated, the vacuum pulls air from the wrong place, bypassing the cleaning path and killing suction.
Worn or damaged hose. Cracks or punctures let air escape before it reaches the motor. Flex the hose while it’s running to listen for whistling or hissing.
Most suction issues trace back to one or two of these areas. Work through the following steps systematically rather than jumping to conclusions.
Step 1: Empty and Clean the Dust Cup
Start here every time, it’s the easiest fix and the most overlooked.
- Remove the dust cup. Press the release button (usually near the handle or top of the canister) and pull it free from the body.
- Empty all debris. Tap the cup over a trash bin. Even if it looks half-full, a compacted layer at the bottom can block the intake.
- Wash the cup. Use warm water and a drop of dish soap. Scrub the interior walls with a soft brush or sponge to remove stuck-on dust and grime. Pay attention to the cyclone cone and any mesh screens inside.
- Rinse thoroughly and air-dry. Shake out excess water and let it dry completely, at least 24 hours. Reassembling a wet dust cup can cause mold growth or damage foam filters.
- Inspect the gasket around the rim. If it’s cracked, warped, or missing, order a replacement part from Shark’s website or a third-party supplier. A bad gasket is a common source of air leaks.
Don’t skip the drying step. Rushing reassembly with damp parts is one of the top mistakes in routine vacuum maintenance and cleaning.
Step 2: Check and Clean All Filters
Shark vacuums typically have two filters: a foam pre-motor filter and a felt post-motor HEPA filter. Both trap fine dust and need regular attention.
Foam pre-motor filter:
- Locate the filter housing, usually under or behind the dust cup.
- Pull the filter out. If it’s gray or matted, it’s overdue for cleaning.
- Rinse under warm tap water until the water runs clear. Gently squeeze (don’t wring) to release trapped dirt.
- Air-dry completely, 24 hours minimum. Place it on a towel in a ventilated area away from direct heat.
HEPA post-motor filter:
- Check the exhaust side of the vacuum. Some models have a panel or door covering the HEPA filter.
- Remove and tap it against a trash bin to dislodge loose dust.
- Rinse gently if the manufacturer allows it (check your model’s manual, some HEPA filters are rinse-safe, others are not).
- If rinsing is allowed, let it dry for at least 24 hours.
- If the filter is torn, discolored, or has a musty smell, replace it. Shark recommends replacing foam filters every 3–6 months and HEPA filters annually, depending on use.
Never run the vacuum with wet or missing filters. Doing so can damage the motor or allow fine dust into the motor housing, shortening the machine’s life.
Step 3: Inspect the Hose and Attachments for Blockages
Blockages hide in bends, connection points, and narrow sections of the hose or wand.
- Detach the hose. Depending on the model, you may need to press release tabs at both the handle and floor nozzle ends.
- Look through both ends. Hold the hose up to a light source. If you can’t see through clearly, there’s a clog.
- Push the blockage out. Use a broomstick, straightened wire hanger, or plumber’s snake to gently push or hook the obstruction. Work from both ends if needed. Avoid sharp objects that could puncture the hose.
- Check the wand and attachments. Remove the straight wand and any tools (crevice tool, dusting brush, pet tool). Shine a flashlight through each piece and clear any buildup.
- Test flexibility. Flex the hose while holding it up to your ear. Listen for rattling or loose debris. If you hear whistling or feel air escaping when you bend it, inspect for cracks or tears.
- Run water through the hose (optional). If it’s heavily soiled, run warm water through it in a bathtub or outdoors. Let it drain and dry completely, 24 hours, before reattaching.
Many DIY home repair tasks involve identifying hidden clogs, and vacuums are no exception. Hair and string are the usual culprits.
Step 4: Clear the Brush Roll and Floor Nozzle
A jammed or tangled brush roll kills suction at the source and can overheat the motor.
- Flip the vacuum over and inspect the underside of the floor nozzle. Look for visible hair, string, or debris wrapped around the brush roll.
- Remove the brush roll cover. Most Shark models have latches, tabs, or a few Phillips-head screws holding the cover in place. Keep track of small parts.
- Pull out the brush roll. Slide it free from the belt and bearings.
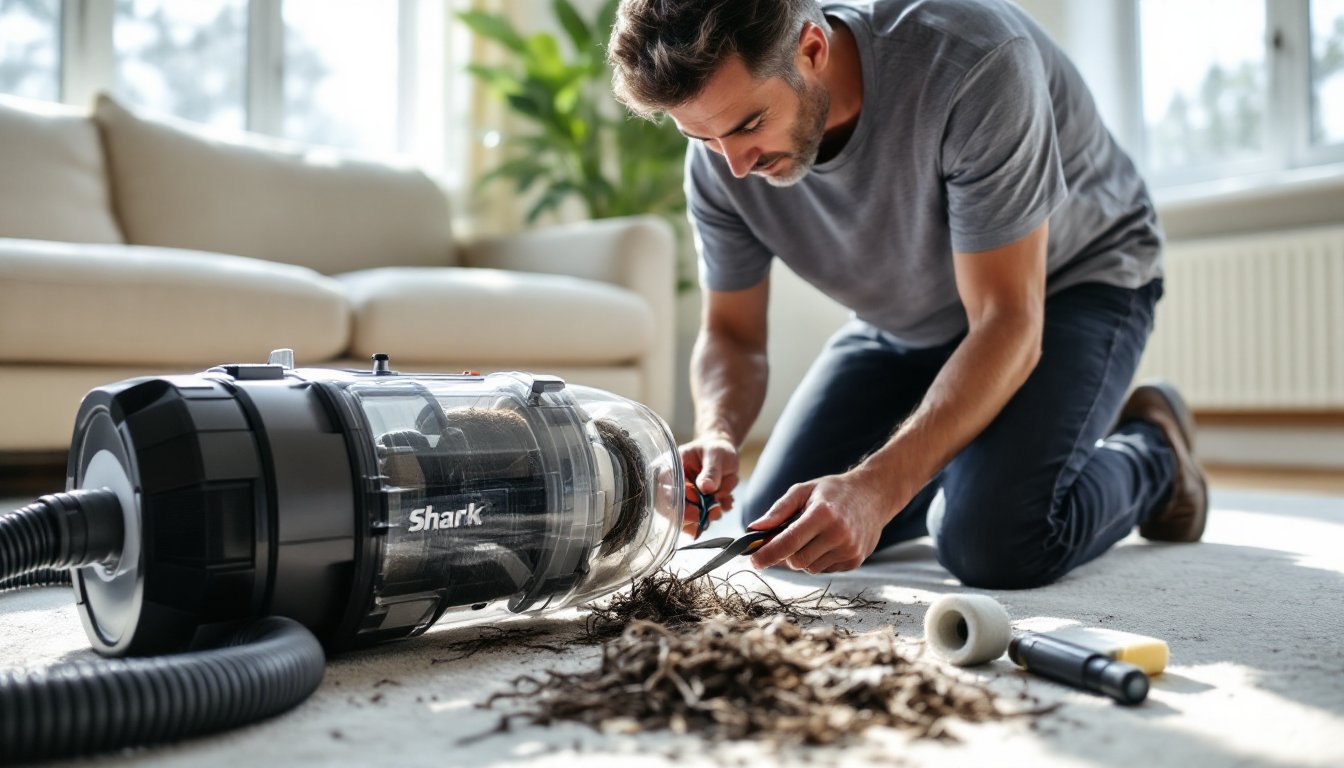
- Cut away tangled material. Use scissors or a seam ripper to slice through hair and fibers. Work carefully near the bristles to avoid cutting them. Pull the debris off the roller and check both end caps for buildup.
- Inspect the belt. Look for cracks, stretching, or a burnt rubber smell. The belt should be snug and intact. If it’s loose or damaged, order a replacement. Belts are model-specific, so verify the part number.
- Check the nozzle airways. Look inside the floor head for obstructions near the intake opening. Use a flashlight and a straightened hanger if needed.
- Reassemble and test. Snap the brush roll back into place, replace the cover, and turn the vacuum on. The roller should spin freely. If it doesn’t, recheck the belt alignment and make sure nothing is blocking the bearings.
Safety note: Unplug the vacuum before working on the brush roll. Even cordless models should be powered off and, if possible, the battery removed.
Brush roll maintenance should be part of routine home upkeep schedules, especially in homes with pets or long-haired occupants.
Step 5: Examine Seals and Gaskets for Air Leaks
Air leaks are sneaky. Even a small gap can cut suction by 30% or more.
- Check the dust cup seal. When you reattach the dust cup, it should click firmly into place. Press on it and listen for a secure latch. If the gasket around the rim is compressed, cracked, or missing chunks, replace it.
- Inspect hose connections. Ensure the hose locks fully into both the body and the wand or floor nozzle. Wiggle each connection, if it’s loose, the clip may be broken or the collar worn.
- Test for leaks while running. Turn the vacuum on and slowly run your hand along seams, doors, and connection points. Feel for escaping air. You can also hold a tissue near suspected gaps: if it flutters, there’s a leak.
- Check the HEPA filter door. If your model has a hinged door or cover over the post-motor filter, make sure it closes completely and the latch engages.
- Look for cracks in plastic housing. Drops or rough handling can crack the body or floor nozzle. Small cracks can sometimes be sealed with marine-grade epoxy or appliance tape, but larger structural damage may require a replacement part or professional repair.
Replacement gaskets and seals are available through Shark’s parts store or third-party sellers. Bring your model number (usually on a label under the dust cup or on the body) when ordering.
Pro tip: If you’ve cleaned everything and suction is still weak, the motor itself may be failing or clogged internally. At that point, professional service or replacement becomes more cost-effective than DIY troubleshooting.
Conclusion
Most suction problems in Shark vacuums come down to clogs, dirty filters, or air leaks, issues any DIYer can fix with basic tools and a little patience. Work through the steps in order, give components time to dry fully, and don’t skip the brush roll inspection. Regular maintenance every month or two prevents most of these problems before they start. If suction remains weak after all these checks, the motor may need professional attention or the unit may be at the end of its service life.