The Kenmore Coldspot line was a workhorse in American kitchens for decades, and thousands of units still hum away in homes today. If you’ve got one, you probably inherited it with the house or picked it up secondhand, and you’re wondering how long it’ll last and what to do when it acts up. These refrigerators were built with serviceable parts and straightforward mechanical designs, which means most problems can be diagnosed and fixed without hauling in a technician. This guide walks through the most common Coldspot issues, the maintenance that actually matters, and when it makes sense to repair versus replace.
Table of Contents
ToggleKey Takeaways
- Clean condenser coils every six months—the most effective maintenance task—and replace worn door gaskets to resolve most Kenmore Coldspot refrigerator cooling issues.
- Most common problems like temperature fluctuations, ice maker malfunctions, and defrost failures can be diagnosed and fixed without professional help using basic tools and a multimeter.
- Repair your Coldspot if it’s under 10 years old and repair costs are less than 50% of a replacement unit, but replace it if the compressor fails or multiple components need repair.
- Pre-2000 Kenmore Coldspot models consume 700–1,200 kWh annually compared to modern Energy Star units at 400–500 kWh, costing $50–$100 more per year in electricity.
- Locate the model number inside the fridge compartment to order correct parts and access service manuals—the three-digit prefix identifies the manufacturer and determines component compatibility.
What Is the Kenmore Coldspot Refrigerator?
The Kenmore Coldspot was a line of refrigerators sold by Sears from the 1950s through the early 2000s, manufactured primarily by Whirlpool, with some models made by Frigidaire and Electrolux. The name “Coldspot” originally referred to a premium feature, enhanced cooling efficiency, but eventually became shorthand for Kenmore’s full lineup of refrigerators.
These units came in top-freezer, side-by-side, and bottom-freezer configurations, with capacities ranging from 18 to 26 cubic feet. Most used mechanical thermostats, manual defrost or auto-defrost systems, and basic compressor-driven cooling. They didn’t have digital displays or Wi-Fi connectivity, which actually works in your favor: fewer electronics mean fewer points of failure.
Kenmore stamped model numbers on a label inside the fridge compartment, typically on the upper left wall or ceiling. Locating this model number is the first step in ordering parts or looking up service manuals. The model number starts with a three-digit prefix that identifies the manufacturer (e.g., 253 for Whirlpool-made units, 297 for GE).
Most Coldspot refrigerators manufactured after 1990 used R-134a refrigerant, which replaced the older R-12 due to environmental regulations. If you’re working on a unit from the late ’80s or earlier, note that refrigerant work requires EPA certification and specialized equipment, not a DIY job.
Common Problems with Kenmore Coldspot Refrigerators (And How to Fix Them)
Temperature Fluctuations and Cooling Issues
Symptom: The fridge isn’t as cold as it should be, or freezer items are thawing.
Most likely causes:
- Dirty condenser coils. Located behind or beneath the unit, coils covered in dust and pet hair can’t dissipate heat efficiently. Unplug the fridge, pull it away from the wall, and vacuum the coils with a coil brush attachment. Do this twice a year minimum.
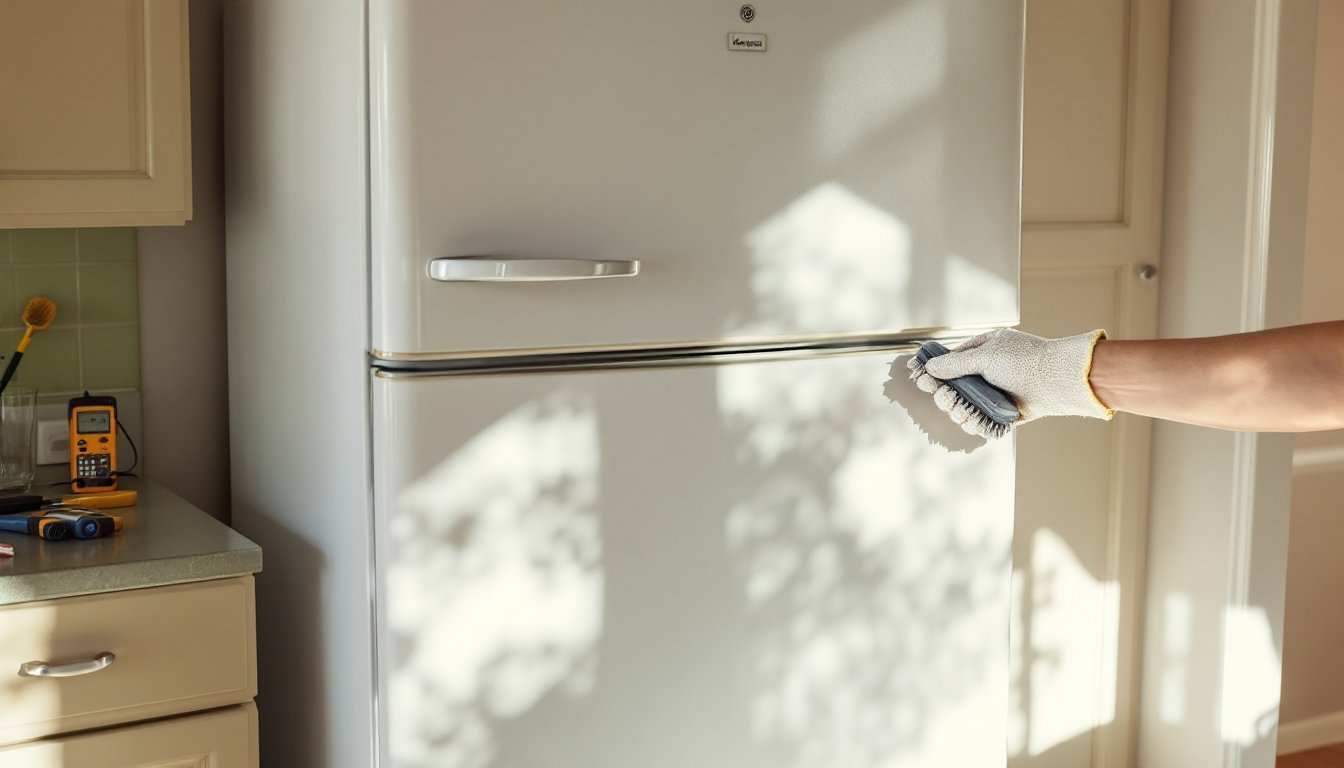
- Worn door gaskets. Close the door on a dollar bill: if you can pull it out easily, the seal is compromised. Gaskets cost $50–$100 and snap or screw into place on most models. Clean existing gaskets with warm soapy water before replacing, sometimes grime is the only problem.
- Faulty evaporator fan. This fan circulates cold air from the freezer to the fridge. If the freezer is cold but the fridge isn’t, the fan may be dead. It’s located behind the back panel inside the freezer compartment. Unplug the unit, remove the panel (usually 4–6 screws), and test the fan motor with a multimeter set to continuity. Replacement fans run $30–$60.
- Defrost timer or heater failure. If frost buildup is blocking airflow in the freezer, the auto-defrost system isn’t cycling properly. The defrost timer is a small dial usually found behind the kickplate or inside the control housing. Listen for a click when you manually advance it with a screwdriver. If it doesn’t click or the heater element (visible behind the freezer panel) shows no continuity, replace the faulty part.
Safety note: Always unplug the fridge before removing panels or testing electrical components. Wear gloves when handling sharp-edged metal panels.
Ice Maker Malfunctions
Symptom: Ice maker isn’t producing ice, or it’s making hollow or misshapen cubes.
Common fixes:
- Water supply issue. Check the ¼-inch copper or plastic water line behind the fridge. If the line is kinked, frozen, or the shut-off valve is partially closed, water flow will be restricted. Turn off the valve, disconnect the line, and flush it into a bucket to check flow.
- Clogged inlet valve screen. The inlet valve (where the water line connects to the fridge) has a fine mesh screen that catches sediment. Unscrew the line, remove the screen, and rinse it. If the valve itself is faulty (no continuity when tested), replace it, usually $25–$40.
- Frozen fill tube. If water dribbles into the ice mold too slowly, it can freeze in the tube. Use a hair dryer on low heat to thaw the tube (located above or behind the ice maker), then check for proper water pressure.
- Bad ice maker module. If the motor isn’t cycling or the arm isn’t lifting, the module itself may be dead. Replacement modules cost $80–$150 and typically mount with two screws and a wiring harness. Make sure you match the exact model number, ice maker compatibility varies even within the Coldspot line.
Pro tip: If your house has hard water, scale buildup accelerates ice maker failure. Installing an inline filter on the water line extends component life.
Essential Maintenance Tips to Keep Your Coldspot Running Smoothly
Clean the condenser coils every six months. This is the single most effective thing you can do. Use a coil brush (sold at hardware stores for under $10) and a vacuum. If you have pets, do it quarterly.
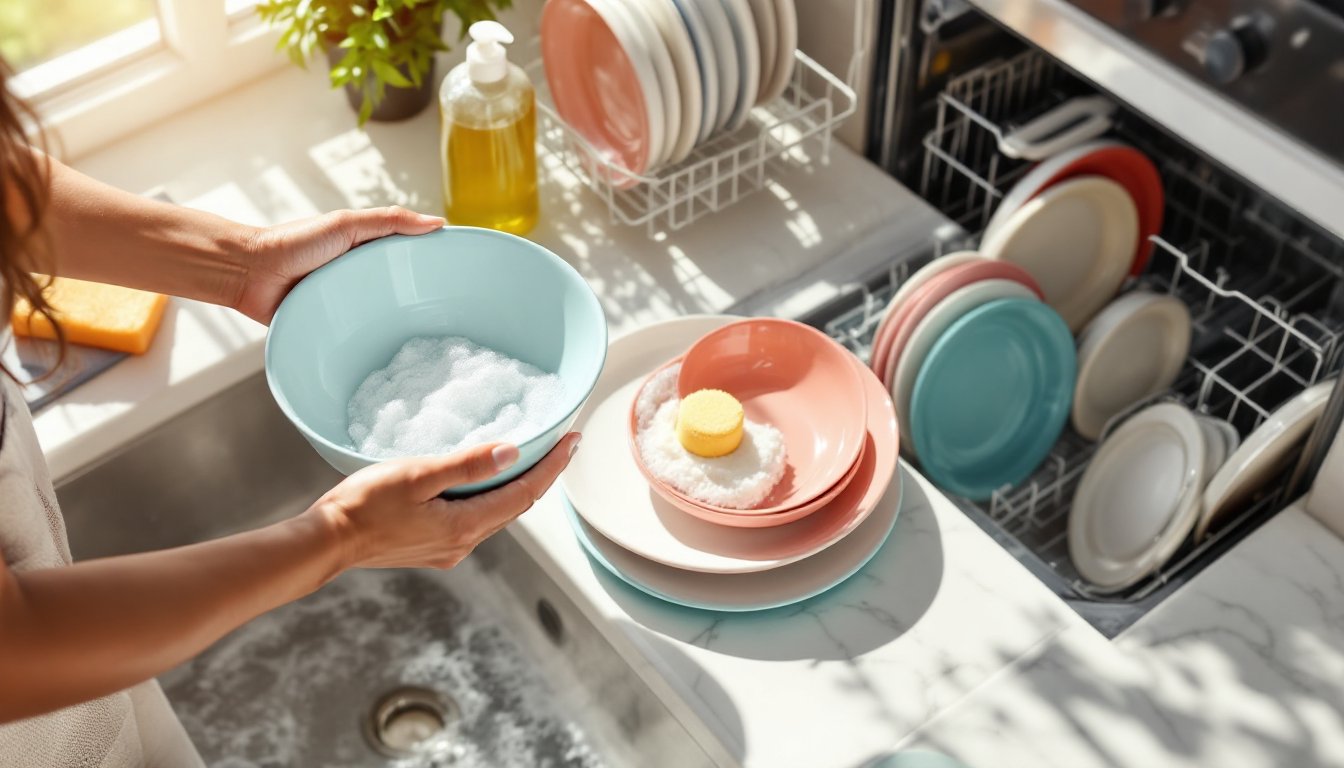
Check and clean door gaskets. Wipe them down with warm water and mild detergent every few months. Avoid harsh cleaners or bleach, they’ll dry out the rubber and cause cracking. If gaskets feel stiff, rub a thin layer of petroleum jelly on the sealing surface to restore flexibility.
Level the unit. A fridge that’s not level works harder and drains poorly. Use a spirit level on top of the unit, then adjust the front leveling legs (usually accessible from the front without moving the fridge). The front should be slightly higher than the back, about ¼ inch, so the door swings closed on its own.
Defrost manually if needed. Even auto-defrost models can develop ice dams in the drain tube. If you notice water pooling inside the fridge or frost buildup in the freezer, unplug the unit, empty it, and let it defrost completely. Pour warm water down the drain hole (located at the back of the fridge compartment) to clear blockages. Use a turkey baster or a defrost drain tube brush for stubborn clogs.
Test the thermostat. Place an appliance thermometer (not a cheap indoor/outdoor one) in a glass of water on the middle shelf. It should read 37–40°F in the fridge, 0–5°F in the freezer. If temps are off and coils are clean, the thermostat may need adjustment or replacement.
Vacuum the drain pan. The pan sits underneath the fridge and catches defrost water. It can grow mold and smell terrible. Pull the kickplate off the bottom front of the fridge, slide the pan out, and wash it in a utility sink with bleach and hot water.
PPE for maintenance: Wear gloves when handling coils and pans, and use a dust mask if you’re sensitive to mold or dust.
Don’t ignore strange noises. A healthy Coldspot hums and occasionally clicks when the compressor cycles. Loud rattling, squealing, or buzzing can indicate a failing compressor, evaporator fan, or condenser fan. Catching these early can save you hundreds.
When to Repair vs. Replace Your Kenmore Coldspot Refrigerator
Repair if:
- The fridge is under 10 years old and the compressor is still running strong.
- The repair cost is less than 50% of a replacement unit. Budget $150–$400 for most part replacements and DIY labor. A service call adds $100–$200.
- Parts are still available. Whirlpool-made Coldspot models (253.xxx) share components with current Whirlpool and Amana units, so parts are easier to find.
- The cabinet and door structure are solid, no rust, cracks, or broken hinges that compromise integrity.
Replace if:
- The compressor has failed. Compressor replacement runs $400–$600 in parts and labor, often more than a basic new fridge costs. Compressors are also sealed components, not a DIY repair.
- Energy costs are eating you alive. A pre-2000 Coldspot pulls 700–1,200 kWh/year, compared to modern Energy Star units at 400–500 kWh. That’s $50–$100/year in extra electricity, depending on your local rates.
- Multiple components are failing. If you’re replacing the thermostat, evaporator fan, and door gaskets in the same year, you’re throwing good money after bad.
- You’re using it as a garage fridge and it can’t handle temperature swings. Older models weren’t designed for unconditioned spaces. If it struggles in summer heat or winter cold, upgrade to a model rated for garage use.
Typical replacement cost: A basic top-freezer fridge (similar to most Coldspos) runs $600–$1,200 for a decent 18–22 cubic foot unit. Side-by-sides and French doors cost more but offer better organization. While there are many modern refrigerator options on the market, most homeowners replacing a Coldspot stick with top-freezer models for simplicity and cost.
Disposal: Many utilities and appliance retailers offer free haul-away and recycling when you buy a new unit. Check local programs, you may even get a rebate for retiring an old energy hog.
One more consideration: If you’re planning a kitchen remodel or considering built-in cabinetry, don’t sink money into an old freestanding fridge. Wait and spec the replacement into the new design. Upgrading appliances piecemeal during a remodel creates mismatched aesthetics and wasted effort.
Conclusion
A well-maintained Kenmore Coldspot can outlast many newer models, but only if you stay ahead of wear items and know when to call it. Clean those coils, replace gaskets before they fail completely, and keep an eye on energy costs. When repair bills start climbing or the compressor gives out, it’s time to move on, but until then, you’ve got a dependable machine that’s worth keeping alive.